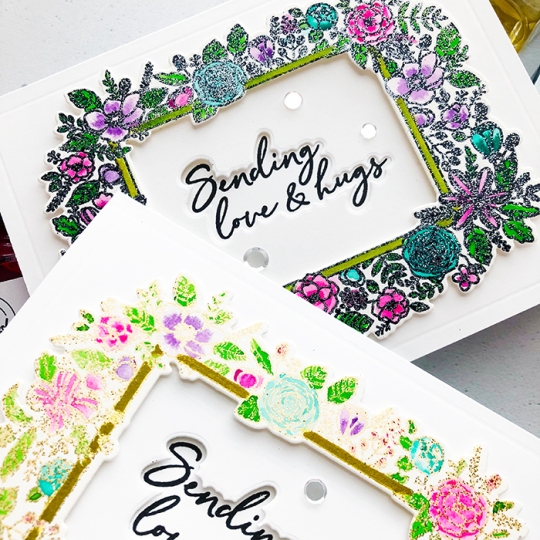
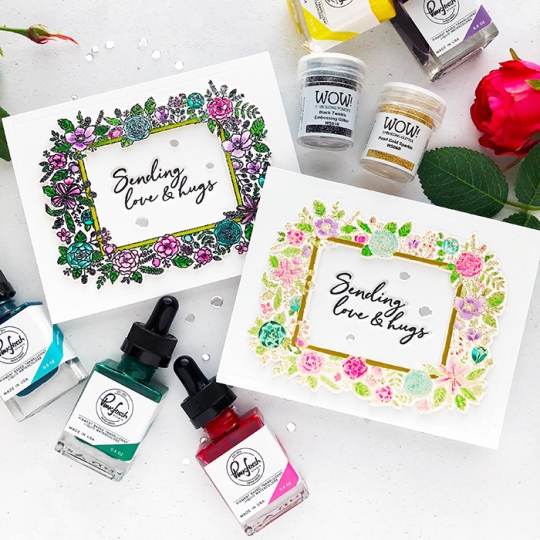
Learn How To Make Three Unique Bowls
Check out these polymer clay stamped bowls!
by Iris Rodriguez

Ink is not just for paper. You can use it on fabric, metal and more specifically Polyform clay. You can use inks to transform polymer clay projects into a wide variety of pieces. Use ink to simply color your clays projects, use with stamps to add designs, or blend it into the clay to create a new color clay. For this project, I create three different bowls using Sculpey Souffle clay with VesaMagic Dew Drop and StazOn inks and demonstrate several techniques when using inks. Hope I pique your interest and give these projects a try.
Skill: Advanced
Time: 1 hour per bowl; baking time according to clay manufacturer instructions
Directions
Making the Round Yellow and Purple Bowl

Step 1
Ceramic, glass or specially made mat like Polyform’s Sculpey Make ‘n Bake Mat surfaces work best when working with clay.

Step 2
Before starting, determine…
View original post 780 more words


Written
on September 10, 2018